Guide
How to Weave In Ends
Ends come loose because of friction, not knots. Once you know that, the method is obvious.
By Sawyer V. · Published September 6, 2026
Disclosure: we earn a commission when you buy through the links on this page, at no extra cost to you. It never decides what we recommend or how we rank it - read the full disclosure.
The short answer
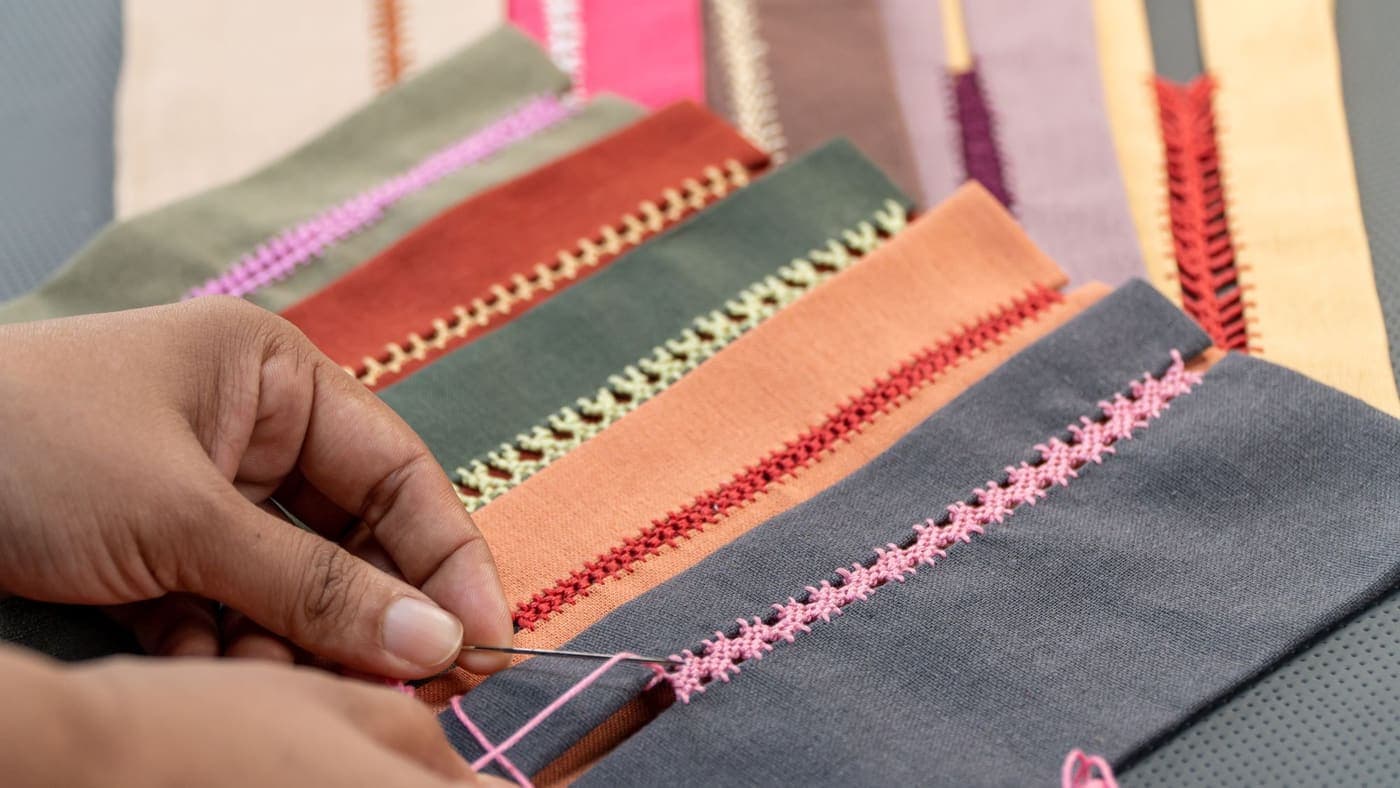
Thread the end onto a blunt tapestry needle and follow the path of the existing stitches for about two inches, then reverse direction and travel back for one inch. The reversal is what holds it - friction against the fabric, not a knot. Trim close, block, and leave a short tail rather than cutting flush.
Why ends come loose
A woven end is held by friction. It is not knotted, glued or anchored - it simply runs alongside enough yarn that the fabric grips it.
So an end works loose when there is not enough friction: because it was too short, because it ran in a straight line, or because it was woven into a slippery fiber. All three are fixable.
The method
- Leave a six-inch tail whenever you join or finish. Shorter than that and there is not enough to work with.
- Thread it on a blunt tapestry needle. Blunt, not sharp - see below.
- Work on the wrong side.
- Follow the path of the stitches for about two inches. Trace the route an existing stitch takes rather than crossing the fabric. This is duplicate stitch, and it is what makes the end invisible from the front.
- Reverse direction and travel back for about one inch, one row up or down from the outbound path.
- Give the fabric a gentle stretch in both directions. This lets the end settle rather than pulling the fabric in.
- Trim, leaving about a quarter inch. Do not cut flush; the stub gives it something to hold with.
- Block. Washing and drying is what finally beds the end in.
Blunt, not sharp - this is not optional
Knitted and crocheted fabric is a mesh of loops with gaps already in it. A blunt tapestry needle travels through those gaps, between the plies.
A sharp needle pierces the middle of a strand instead, splitting the ply and anchoring the end where it shows on the right side. If your woven ends look like a line of differently-colored dashes on the front, it is almost always the needle rather than your technique. Our best tapestry needles page covers the tool.
By fiber, because slippery ends escape
| Fiber | Grip | What to do |
|---|---|---|
| Untreated wool | Excellent - the scales grip | Standard method; ends effectively felt in place |
| Superwash wool | Reduced | Weave further, and reverse twice |
| Cotton and linen | Moderate | Weave further; no felting to help you |
| Acrylic | Poor - smooth and slick | Weave four inches, reverse twice, split the ply |
| Silk and bamboo | Very poor | The most work; consider a Russian join instead |
| Chenille | Poor, and it sheds | Weave long; expect to redo it once |
The ply-splitting trick for slippery yarn: for the last half inch, run the needle through the middle of an existing strand rather than beside it. It is the one place a sharp needle is useful, and it locks the end mechanically.
Leave fewer ends in the first place
The best weaving-in technique is not having to do it. Three joins remove the ends before they exist.
- Russian join. Thread each end back into its own ply for an inch, so the two yarns loop through each other. No ends at all, and a slightly thicker inch of yarn.
- Spit splice (untreated wool only). Fray both ends, overlap, moisten and roll hard between the palms. The friction and moisture felt them together - see does wool yarn shrink for why this works. Does not work on superwash.
- Magic knot. Fast and genuinely knotted. Secure, and there is a small hard bump in the fabric - fine in a blanket, questionable in a garment.
- Join at the edge, not mid-row. Ends at a seam or edge can be woven into the seam allowance, where nothing shows.
Weaving as you go
On a project with a lot of ends - stripes, granny squares, colorwork - dealing with them at the end is a wall you will not want to climb.
Weave each end as you create it, or catch the tail into the stitches of the next few rows as you work them. Fifty squares in four colors is four hundred ends; done as you go it is invisible, done at the end it is a fortnight.
Where not to weave
- Not through a ribbed cuff along the row. Ribbing stretches; an end woven across it restricts the stretch and the cuff no longer grips. Weave vertically along a rib instead.
- Not across a stretch of lace. It shows through the openwork. Follow a solid section.
- Not through the same column twice. Two ends in the same stitch column makes a visible thick line.
- Not into a section that will be cut. Steeks and cut edges need their own treatment.
Glue is not the answer
It comes up, so it deserves a direct answer. Fabric glue holds an end and it also stiffens that spot permanently, and it will not survive many washes on a flexing fabric.
There is one legitimate use: securing an end on a finished decorative item that will never be washed or worn. For anything else, weave it. Our best glue for yarn crafts page covers where adhesive genuinely belongs.
What the job needs
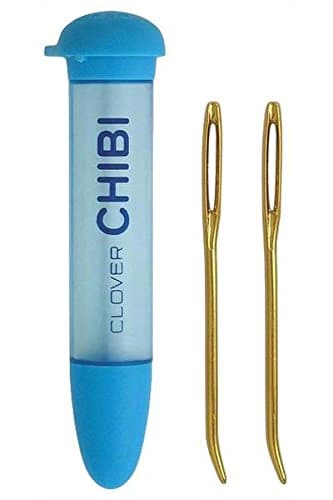
Clover Chibi Darning Needle Set (Bent Tip)
Three blunt bent-tip needles in a tube - blunt so it travels between strands rather than splitting them.
$9.14 - View on Amazon#ad disclosure - price as of October 20, 2026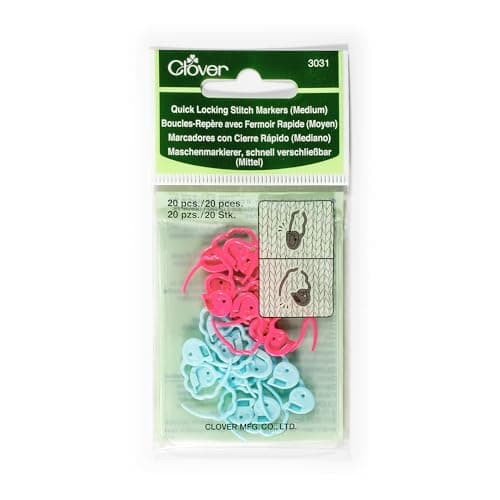
Clover Quick Locking Stitch Markers, Medium
Mark the ends you have already done. On a motif blanket with hundreds, this is not a joke.
$8.00 - View on Amazon#ad disclosure - price as of October 20, 2026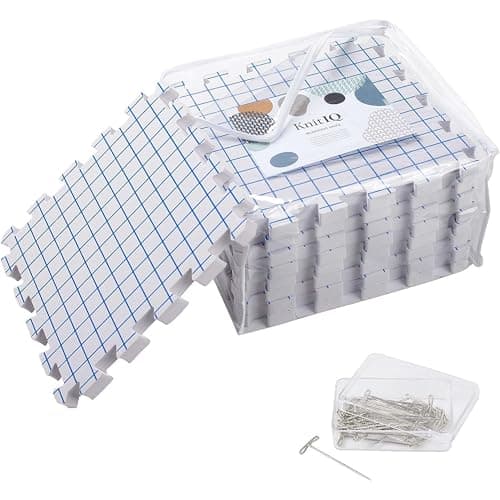
KnitIQ Blocking Mats
Block after weaving, not before. Blocking is what finally settles a woven end into the fabric.
$49.99 - View on Amazon$54.999% off · #ad disclosure - price as of October 20, 2026
Questions people actually ask
How do you weave in ends so they do not come out?
Follow the path of the existing stitches for about two inches, then reverse direction and travel back for one inch. The reversal is what holds it - an end running one way can slide back out, and one that doubles back has to pull against itself.
Do you weave in ends before or after blocking?
Before. Blocking sets the ends into the fabric, and weaving into an unblocked piece is easier than fixing ends once the piece has been shaped.
Should you knot the ends of yarn?
Not for weaving in - a knot creates a hard bump and can still work loose. The magic knot is a legitimate join for blankets where a small bump does not matter, but woven ends rely on friction rather than knots.
How long should a yarn tail be for weaving in?
Six inches. Shorter than that and there is not enough to thread onto a needle and travel two inches out and one inch back.
How do you weave in ends on slippery yarn?
Weave further - four inches rather than two - reverse direction twice, and for the last half inch run the needle through the middle of an existing strand rather than beside it, which locks the end mechanically.