Guide
Best Needle Gauges and Rulers
The cheapest tool on this site, and the one that settles an argument you will have every year.
By Sawyer V. · Published September 7, 2026
Disclosure: we earn a commission when you buy through the links on this page, at no extra cost to you. It never decides what we recommend or how we rank it - read the full disclosure.
The short answer
A needle gauge is a plate with graduated holes. Push a needle through until it stops, and the smallest hole it passes cleanly is its size. Most also carry a window for counting stitches over four inches, which makes it the same tool you use to check gauge.
Why you end up with unmarked needles
It happens to everybody, and rarely because of carelessness.
- Printed sizes rub off. A painted or printed size on a bamboo or coated needle wears away with handling. Etched sizes do not, which is a genuine specification difference.
- Interchangeable tips are often unmarked at the tip end - the size is on the packaging or the case slot, not the needle.
- Inherited and second-hand needles frequently predate consistent marking.
- Non-US scales. A needle marked only in old UK numbering is unreadable to anyone working from an American pattern.
- Double points and small circulars are physically too thin to carry a legible printed size.
How to use one properly
- Push the needle through, do not force it. The correct hole is the smallest one it passes through cleanly and without resistance.
- Measure the shaft, not the tip. The tip is tapered, so it will pass through a hole far smaller than the needle's actual size.
- Check twice on wooden needles. A wooden needle can have a fractionally different diameter along its length.
- For hooks, measure the shaft behind the head - the head is deliberately a different diameter.
That second point causes most wrong readings. If you push a needle in tip-first only as far as it will easily go, you are measuring the taper.
The gauge window, which is the more useful half
Most gauge plates carry an L-shaped or square window cut to a known size, usually two or four inches on a side. Lay it on your swatch and count the stitches and rows inside it.
That is more useful than the hole plate, because gauge is the number that decides whether a garment fits and a needle size is only a proxy for it. The full method - swatch size, blocking, and what to change when the numbers are wrong - is on gauge and swatching.
The Knit-Chek measures 5.5 by 3 inches and does both jobs: needle and hook sizes from US 0 / B-1 to P-16, plus stitch and row gauge for knitting and crochet.
Measuring gauge without a dedicated tool
You do not strictly need one, and it is worth saying so.
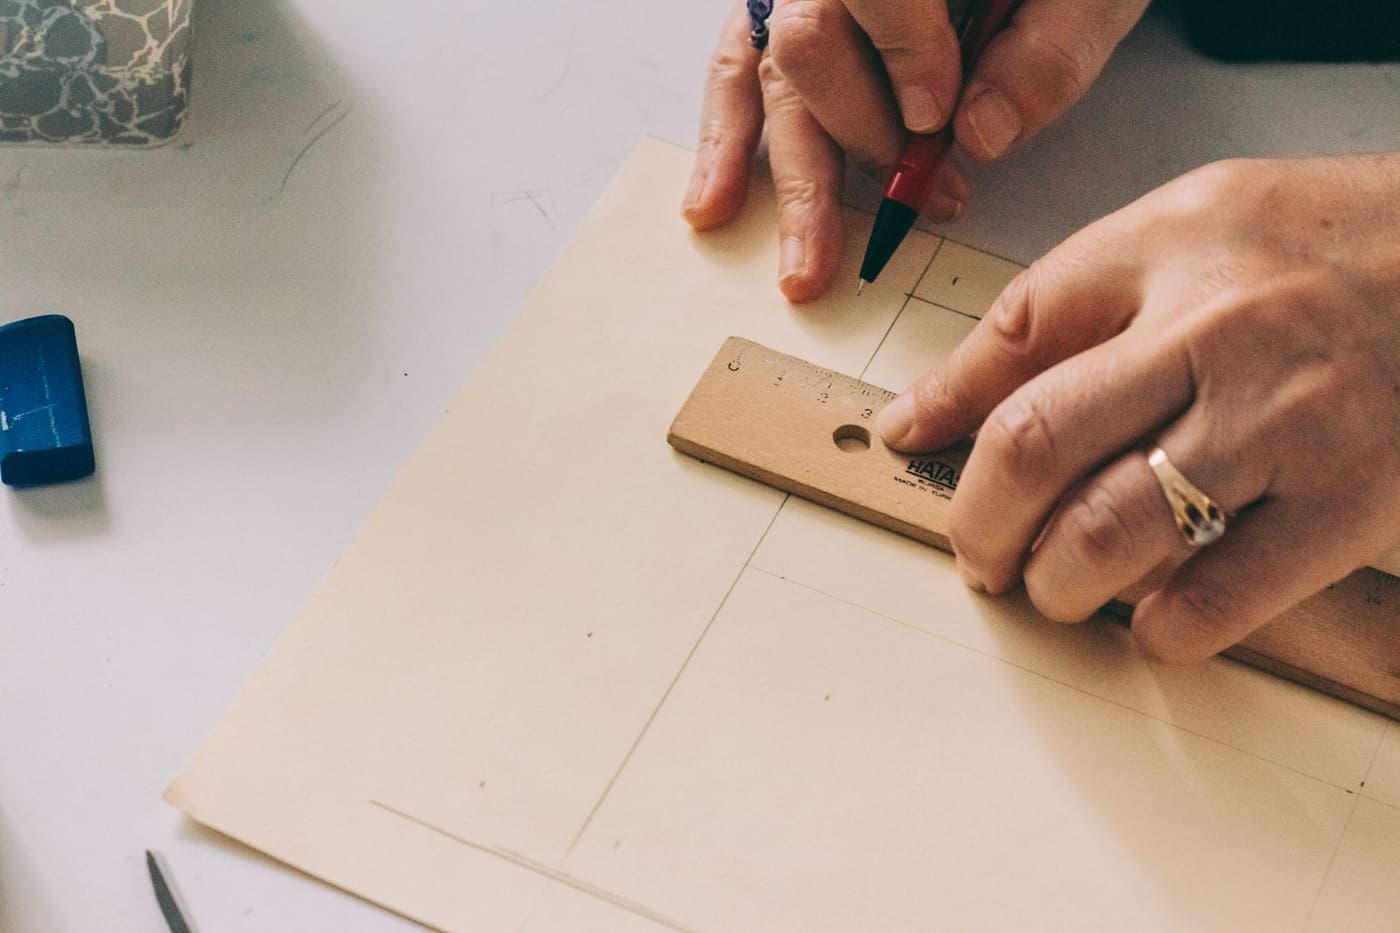
- A rigid ruler works for stitch counting. Use a rigid one rather than a tape measure - a tape stretches and sags.
- A gridded blocking mat is a four-inch square by construction, which makes it the easiest surface to count on.
- Pins or markers at each end of four inches stop the count drifting while you look away.
- What does not work is measuring in the air. Lay the fabric flat, unstretched, and do not hold it.
The alternative: buy needles that are marked
The other way to never need a gauge plate is to own needles that cannot lose their markings.
Laser etching, as on ChiaoGoo's stainless tips and double points, is permanent. Color coding by size - as on the Knitter's Pride Dreamz range - achieves something similar by a different route: even if the printed number wears, the color still identifies the size, provided you have the key.
A case with labeled slots does the same job for a set, which is a good argument for keeping tips in the case they came in - see caring for your needles and hooks.
What we would buy
- The tool: a Knit-Chek, which does needle sizes and stitch gauge on one plate.
- The surface to measure on: gridded blocking mats, which double as a four-inch reference.
- To stop the count drifting: locking markers at each end of the four inches.
- The long-term fix: a set with etched sizes, so the question does not arise.
What settles a needle size
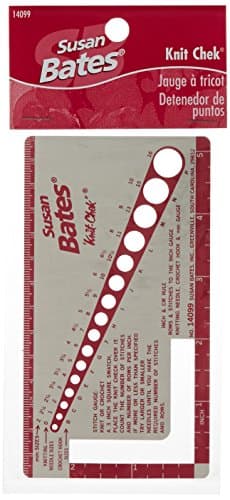
Susan Bates Knit-Chek Needle Gauge
Measures US 0 / B-1 to P-16 (2.0 to 11.5mm) and checks stitch and row gauge, at 5.5 x 3in.
$9.40 - View on Amazon#ad disclosure - price as of October 22, 2026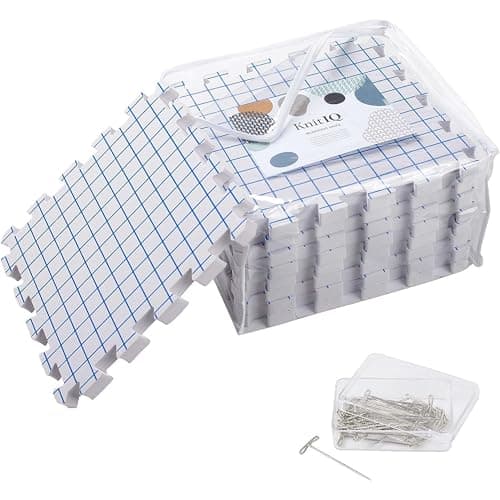
KnitIQ Blocking Mats
Gridded boards, so a blocked swatch is measured flat and square rather than on a sofa cushion.
$49.99 - View on Amazon$54.999% off · #ad disclosure - price as of October 22, 2026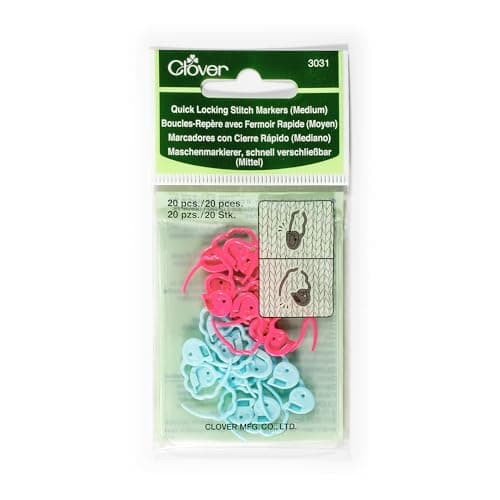
Clover Quick Locking Stitch Markers, Medium
Mark the four inches you are counting - a marker at each end stops the count drifting.
$8.00 - View on Amazon#ad disclosure - price as of October 22, 2026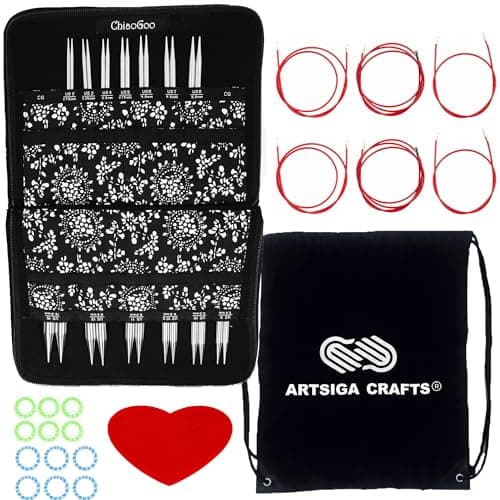
ChiaoGoo TWIST Red Lace Interchangeable Set (Complete, 5in tips)
The other answer: a set with the size etched on every tip, so nothing goes unmarked in the first place.
$216.80 - View on Amazon#ad disclosure - price as of October 22, 2026
Questions people actually ask
How do you measure a knitting needle without a gauge?
A gauge plate is the reliable way - push the shaft through until it stops, and the smallest hole it passes cleanly is the size. Without one, a caliper works; a ruler against a round needle does not.
What is a needle gauge used for?
Identifying the size of an unmarked needle or hook, and - on most plates - counting stitches and rows over a known window to check your gauge.
Why do knitting needles lose their size markings?
Printed and painted sizes rub off with handling. Laser-etched sizes do not, which is a real specification difference worth looking for. Interchangeable tips are often unmarked at the tip end anyway.
Do I need a needle gauge to measure knitting gauge?
No - a rigid ruler and two markers work. A gauge plate is convenient because it does both jobs, and a gridded blocking mat gives you a four-inch reference by construction.
Where do you measure a needle's diameter?
On the shaft, not the tip. The tip is tapered, so pushing a needle point-first into a gauge measures the taper and gives a reading several sizes too small.